Managing Users, Image Sets and Projects
This guide explains how Administrators can manage system resources by removing or deleting users, image sets, and projects.
Removing Users from Projects
When a user no longer needs access to a project, Administrators can remove them using these steps:
Step 1 Sign in with your Administrator account.
Step 2 Navigate to the 'Projects' tab and select the relevant project.
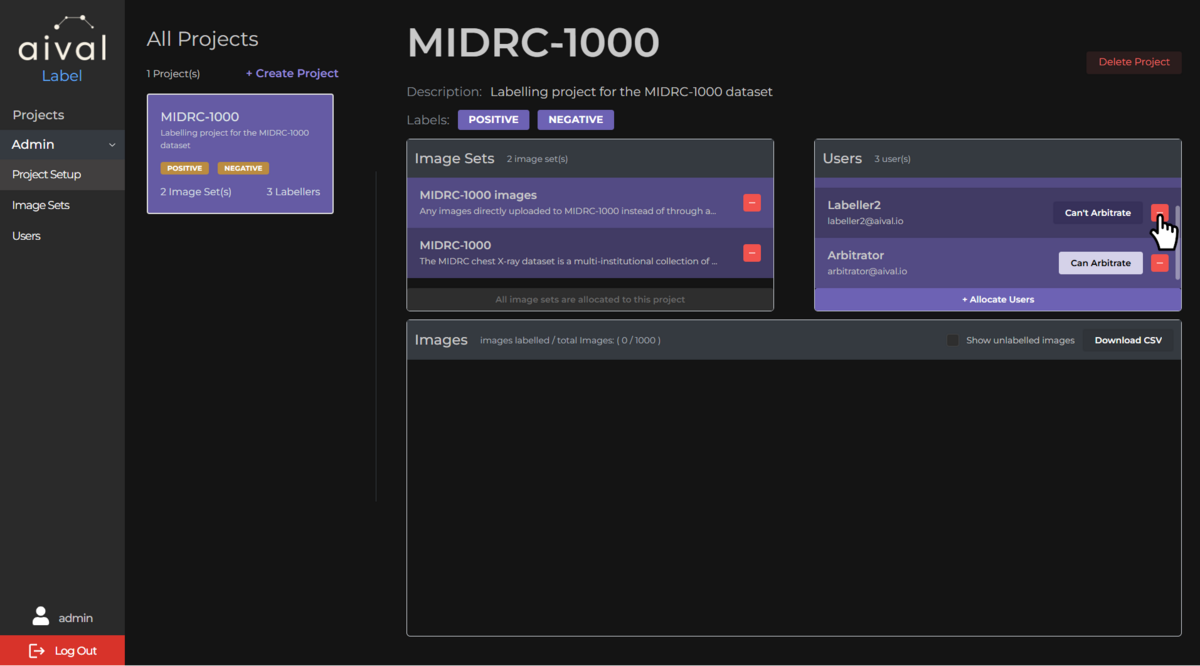
Step 3 Remove User: Click on the associated red minus icon next to the user's name within the project Users section. Confirm the action if prompted.
If the labeller has already labelled studies, you will be prompted with an additional warning message stating that the labeller will be removed from the project and they will no longer have access to the project. However, their labels will remain within the project and only accessible to the Administrator(s).

What Happens Next
The user will no longer have access to the project. Any images sets from the project that were assigned to the user will be unassigned and returned to the pool for reassignment. The user's contribution history to the project will remain for record-keeping. If you want to re-allocate the deleted user back into the project, you may the system will recall the labels that user has already labelled.
If the user you are removing from a project is an arbitrator then any further discrepancies between the remaining labellers will be indicated in the project table but no longer arbitrated unless a labeller is assigned as the new arbitrator for the project. The steps to do that can be found on this page.
Deleting Users from the User's Registry
Administrators can also permanently delete Labellers or Arbitrators from the User's registry when necessary. However, you will only be able to permanently delete a user if they have been unallocated from all projects. Below is the guide to do just that:
Step 1 Log in as Administrator: Access the administrator account using your credentials.
Step 2 Navigate to the 'Users' Tab: Go to the 'Overview' section of the page, where all the created users will be listed. From this page you will be able to see if the user is still allocated to a project, if the labeller is still allocated a project and try to delete them, the following pop up will appear.

Step 3 Delete User: Once you have made sure the user you would like to permanently delete has no allocated projects then click on the associated red bin icon next to the user's name. Confirm the action if prompted. In this example will delete 'User Name 1', which has been unallocated from all projects.

Labels created by deleted users remain in the project tables and CSV exports.
After Deletion
- The user's account access is terminated
- Their contribution history is preserved
- For arbitrators: existing projects will need new arbitrators assigned to handle discrepancies
Managing Image Sets
Removing Image Sets from Projects
Step 1 Sign in with your Administrator account.
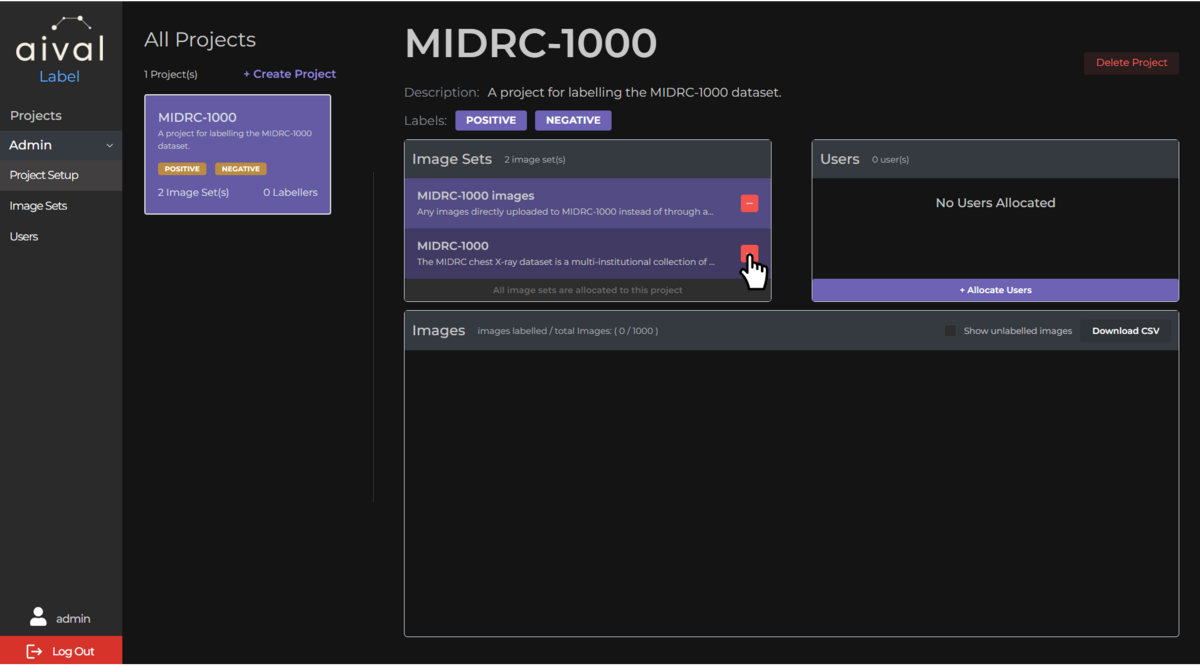
Step 2 Navigate to the 'Projects' tab and select the project.
Step 3 In the image set section, click the red minus icon next to the image set name.
Effects of Removal
- Labeled studies remain in the project
- Unlabeled studies are removed from the workflow
- Project image counts will update accordingly
Deleting Image Sets from the System
It is important to note that every project that is created will automatically trigger the creation of an image set that is used for automatic upload of data to this project. This image set appears in the example below as MIDRC-1000 images. It is currently possible to remove this image set, or even delete it, but we strongly advise that you do not do so.
Image sets can be deleted only when they are not allocated to any projects.
Step 1 Sign in with your Administrator account.
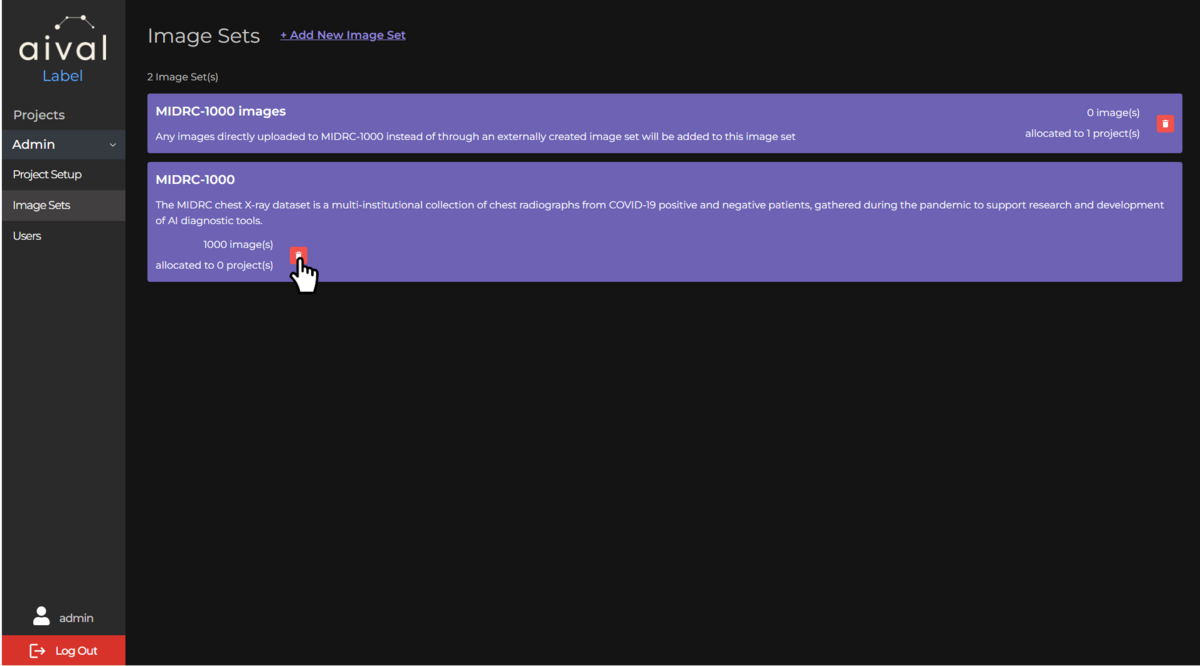
Step 2 Navigate to the 'Image Sets' tab.
Step 3 For image sets with zero allocations, click the red bin icon to delete.
Image sets must be removed from all projects before system deletion. Labels associated with deleted image sets will not be retained.
Deleting Projects
Projects can be deleted when they no longer contain users or image sets.
Step 1 Sign in with your Administrator account.
Step 2 Navigate to the 'Projects' tab and select the project.
Step 3 Click the red 'Delete Project' button beside the project title.
Step 4 Remove all users and image sets if prompted, then confirm deletion.
Effects of Project Deletion
- All project data is permanently removed
- Labels and contributions are deleted
- The action cannot be undone
Before deleting any resources, ensure all necessary data has been exported and backed up. Notify users in advance to allow time for data export.
